Maintaining your vehicle’s health is crucial for optimal performance and longevity. One of the essential aspects of vehicle maintenance is ensuring that all fluids are at the correct levels, including transmission, coolant, brake, and power steering fluids. Neglecting these crucial components can lead to serious mechanical issues and costly repairs.
Checking and refilling your vehicle fluids does not have to be a complicated task. With a little knowledge and the right tools, any car owner can perform this essential maintenance. This article will guide you through the steps to easily check and replenish various fluids, focusing specifically on the importance of transmission fluid. Understanding how to manage these fluids will empower you to keep your vehicle running smoothly and efficiently.
In addition to preventing potential problems, regular fluid checks enhance your vehicle’s overall safety and reliability. Knowing how to monitor and maintain the necessary fluid levels will not only save you time and money but will also give you peace of mind every time you hit the road.
Steps to Check Transmission Fluid Level Accurately
To ensure your vehicle operates efficiently, checking the transmission fluid level is crucial. Here are the steps to do it accurately:
1. Prepare Your Vehicle: Start with the engine running and the vehicle on a level surface. Engage the parking brake to prevent any movement. Allow the engine to warm up for a few minutes, as this helps the transmission fluid circulate.
2. Locate the Dipstick: Open the hood and find the transmission fluid dipstick. In most vehicles, it is located near the back of the engine bay, identifiable by a bright handle. If unsure, consult your owner’s manual for the exact location.
3. Check the Fluid Level: Carefully remove the dipstick. Wipe it clean with a lint-free cloth or paper towel to remove any old fluid. Reinsert the dipstick fully back into its tube and then pull it out again to check the level. The fluid should be between the “Full” and “Low” marks on the dipstick.
4. Inspect Fluid Condition: In addition to the level, assess the condition of the transmission fluid. Healthy fluid is typically a reddish color and should be clear. If it appears dark, muddy, or has a burnt smell, this indicates that it may need to be changed.
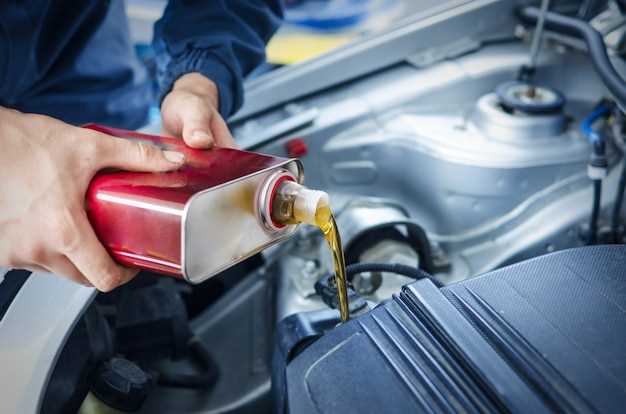
5. Add Fluid as Needed: If the fluid level is low, use a funnel to add the recommended type of transmission fluid. Take care not to overfill, as this can lead to damage. Check your owner’s manual for the specific type of fluid recommended for your vehicle.
6. Recheck the Level: After adding fluid, wait a moment and then recheck the dipstick to ensure the level is within the acceptable range.
7. Close the Hood: Once you have confirmed that the fluid levels are correct and the condition is satisfactory, securely close the dipstick and the hood of your vehicle.
Regular checks of your transmission fluid can prevent costly repairs and ensure your vehicle’s smooth operation. Additionally, be mindful of the coolant levels, as both fluids play a vital role in your vehicle’s performance.
How to Safely Add Coolant to Your Radiator

Adding coolant to your radiator is essential for maintaining your vehicle’s engine temperature. Before you start, ensure that your engine is cool to avoid burns from hot fluids or steam. Begin by locating the radiator cap, which is usually at the front of the engine bay.
Once you’ve found the radiator cap, carefully inspect it for any signs of damage or wear. If it appears to be in good condition, you can slowly twist it counterclockwise to release any pressure. Always use a cloth to cover the cap while opening it to protect yourself from any possible spray of hot coolant.
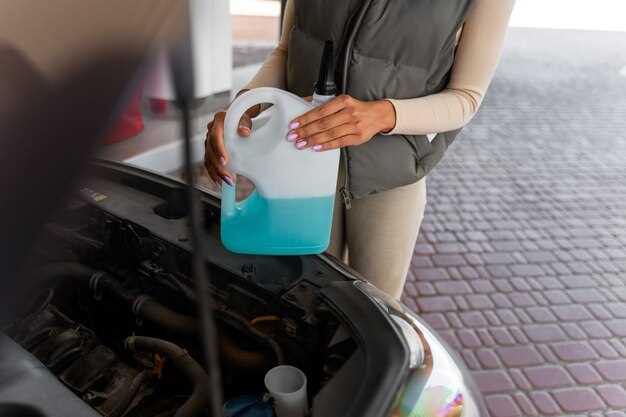
With the cap removed, check the coolant level in the overflow reservoir first. If it’s low, you might need to add coolant directly to the radiator. Prepare a mix of coolant and distilled water, following the manufacturer’s recommendations for your vehicle. Typically, a 50/50 mix is ideal unless specified otherwise.
Using a funnel, carefully pour the coolant mixture into the radiator until it reaches the recommended level. Avoid overfilling, as this can result in spillage when the engine heats up. After adding the coolant, securely replace the radiator cap, ensuring it clicks into place to prevent leaks.
Finally, start your vehicle and allow it to run for a few minutes. Check the temperature gauge to ensure the engine is not overheating. Monitor for any leaks around the radiator and the hoses connected to it. Regularly check and maintain the coolant level, as it’s vital for preventing engine damage and ensuring the proper functionality of the transmission.
Signs Your Vehicle Fluid Needs Attention

One of the key indicators that your vehicle fluids require attention is unusual behavior during transmission. If you notice slipping, hard shifts, or difficulty engaging gears, it may signal low or contaminated transmission fluid. Regularly checking this fluid is crucial for a smooth driving experience.
Another essential fluid to monitor is coolant. Signs of coolant issues can include the engine overheating, a sweet smell inside or outside your vehicle, or visible leaks under the engine compartment. If the coolant level is low, it can lead to serious engine damage, making it imperative to address any signs immediately.
Pay attention to any changes in fluid color or consistency. Transmission fluid should be bright red or pink and should be clear. A dark, burnt smell indicates that it needs changing. Similarly, coolant should be a vibrant color depending on the type; a cloudy or rusty appearance could point to contamination or corrosion.
Finally, listen for unusual noises from your engine. Whining or grinding sounds may suggest transmission issues, while gurgling can be a sign of low coolant levels. Regular checks and awareness of these indicators can help prevent costly repairs and keep your vehicle operating smoothly.


